
How to Upload a Donation Receipt for External Donations
Made a donation on another website through Neki? Amazing — your generosity matters. Now it’s time to let us know it’s done!
Why do I need to upload a receipt?
When you donate through an external site (like the nonprofit’s own website), Neki doesn’t automatically track that donation. Uploading a screenshot of your receipt helps us verify your action and credit your impact on the platform.
Step 1: Take a screenshot of your receipt
After you complete your donation on the nonprofit’s website, you’ll usually see a confirmation screen or get an email. Just take a screenshot of that receipt. Make sure the donation amount, date, and nonprofit name are clearly visible.
Step 2: Return to Neki
After donating, come back to Neki. A pop-up will appear asking you to upload your receipt.
If you've donated and returned to Neki but don't see the pop-up asking to upload your receipt, don’t worry — it’s easy to find your pending task.
Check the To Do section
- Go to your Home page
- Click the To Do icon in the top right corner
For Mobile:
On the Home page, tap ‘To Do’ in the bottom navigation bar.
- Select My To Do


- Look for the task: Confirm pending donation
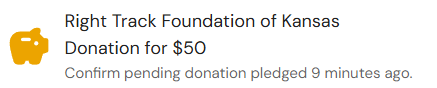
- Click it to upload your receipt
Or find it via your profile
- From the Home page, click Profile on the left panel
For Mobile :
On Home Page, Click on Profile Picture.

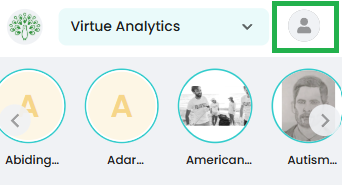
Click on 'Profile'
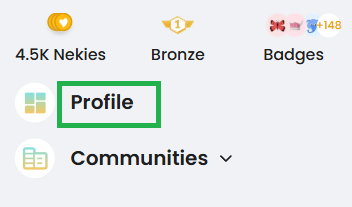
- Go to Pending Tasks

- Find the same task there and click to complete it
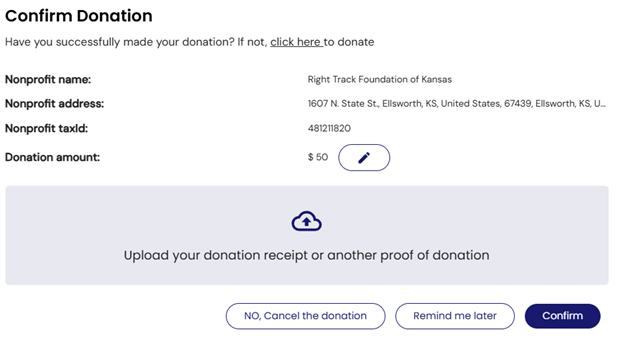
Step 3: Click ‘Upload’ and find your screenshot
When you click the ‘Upload’ button:
Your computer’s file browser will open. Navigate to the folder where your screenshot is saved (usually the Downloads or Pictures folder).
Important: In the upload window, make sure the “File Type” dropdown (bottom right) is set to ‘All Files’.

If it’s set to images only (like .jpg or .png), and your screenshot doesn’t appear, this setting might be the reason.
Note: Our system currently doesn’t support uploading PDF files. Screenshots work best — make sure the image is clear and complete.
Step 4: Select your file and upload
You’ll see a confirmation once your receipt is successfully submitted.
Still stuck?
We’re here to help. Reach out to us anytime at hello@neki.io.