
How to Manage Group as a Group Admin
How to Manage Group as a Group Admin
Groups are dedicated spaces within your community where community members can come together around shared causes or interests — whether it’s volunteering, sustainability, DEI, or any initiative your team cares about.
They help:
- Spark collaboration around meaningful impact.
- Empower members to lead and participate in causes they’re passionate about.
- Make your community feel more personal, organized, and action-oriented.
And the best part? You can create as many groups as your community needs.
Getting Started as a Group Admin
Welcome aboard! As a Group Admin, you play a key role in shaping your group’s space—bringing the right causes, people, and visibility together.
Here are the first 3 things you can do to get your group up and running:
1. Add Nonprofits to Your Group
Step 1. Log in to your community at https://my.neki.io
step 2: From the top menu, go to the Switch Community section and select your group.
Step 3. Click on “Administration” on the right panel.

For Mobile:
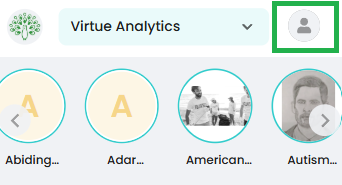
On the Home page, tap ‘Admin’ in the bottom navigation bar.

Click this icon to open the menu and see additional options

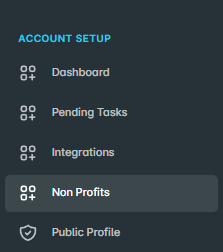
Step 4. In the left menu, choose Nonprofits.
Step 5: Under the Preferred Nonprofits section, search and add nonprofits aligned with your group’s cause.
Once added, updates and posts from these nonprofits will appear in your group feed—so your members stay informed and engaged with the causes you care about.
2. Invite Members to Your Group
Make it a space where your people come together.
Step 1. On the Administration Page, go to User Management section
Step 2: Click the Invite User button.
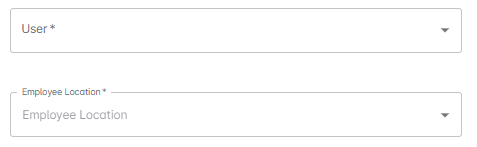
Step 3: In the invite window, choose users from your primary community. Use the dropdown list to search for members by name. Select their name and location, then click Save.
An invitation email will be sent to the selected users. The email will include a link that lets them join your group directly. Once they accept the invite, they’ll become part of your group and start seeing updates, opportunities, and more.
3. Make your group public
Create a space that others in your community can discover and join.
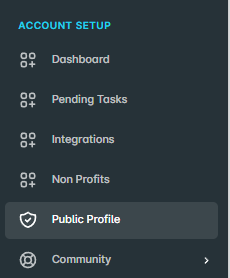
Step 1: On Administration page, go to Public Profile
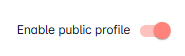
Step 2: Toggle Enable Public Profile to turn it on.
Step 3: Choose your group’s visibility:

Open: Anyone in your community can join.
Gated: People can request to join, and you approve them

Step 4: Add your Social Impact Vision and upload a banner image. Click Save.
Once saved, a public page will be created for your group.
You’ll see the link on the home page (right panel). Click it to preview your group’s public profile.

For Mobile :
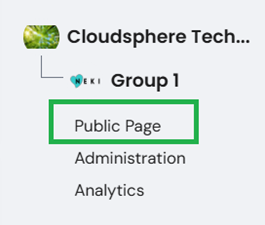
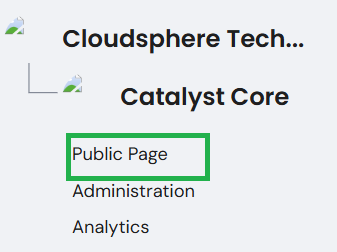
On Home Page, Click on Profile Picture.
'Public Page' will be visible under Group Name
Now, your group is visible to logged-in users from your primary community. They can explore your page — and join your group if it speaks to them.
What Else You Can Do in the Administration Panel
Your Administration Panel has everything you need to manage your group effectively. Here are a few key sections to explore:
Dashboard:
See all your group stats in one place — from donations and volunteering to overall engagement. It gives you a clear picture of how your community is making an impact.
Pending Tasks:
Find everything that needs your attention — like user join requests or other actions waiting for approval.
Integrations:
Connect with tools your group already uses.
- Slack & Microsoft Teams: Send real-time updates and notifications directly to your members.
- Stripe: Collect contributions securely and manage your group’s fundraising.
Community:
This section lets you:
- Add a location to your group.
- Customize your brand settings by selecting your primary and secondary colours — so your group feels like your own.