How to manage Users for Your Community
1. Invite users
Inviting users to your community is a crucial step in fostering engagement and collaboration. By bringing users on board, you enable them to connect, participate in initiatives, and contribute to your organization’s goals. Whether you’re a Company Admin or a Nonprofit Admin, inviting users ensures your community thrives with shared purpose and activity.
Follow these simple steps to invite users to your community:
Step 1 : Log in to your Neki Account
Begin by logging in to your Neki account (https://my.neki.io) using your credentials. Make sure you have the necessary admin access to manage users.
Step 2 : Access the Administration Section
Once logged in, navigate to the home page and click on the Administration section. This is where you can manage your community’s settings and users.
For Mobile:
On the Home page, tap ‘Admin’ in the bottom navigation bar.

Click this icon to open the menu and see additional options

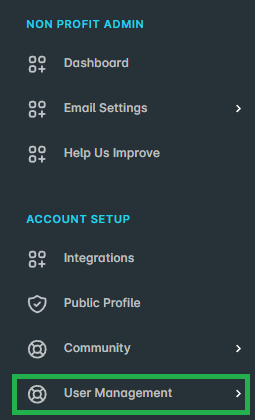
Step 3 : Open User Management
Within the Administration section, locate the User Management option under Account Setup. Click on User Management to access user-related settings.
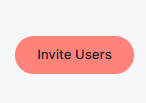
Step 4 : Invite Users
In the User Management section, you’ll see an Invite Users button. Click on it to open a small form.
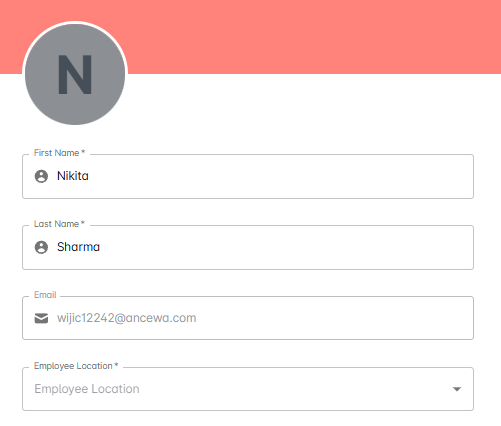
Step 5 : Fill Out the Invitation Form
Complete the form by entering the following details for each user you want to invite:
- Name: Enter the full name of the user.
- Email ID: Provide their email address.
- Location: Specify their location.
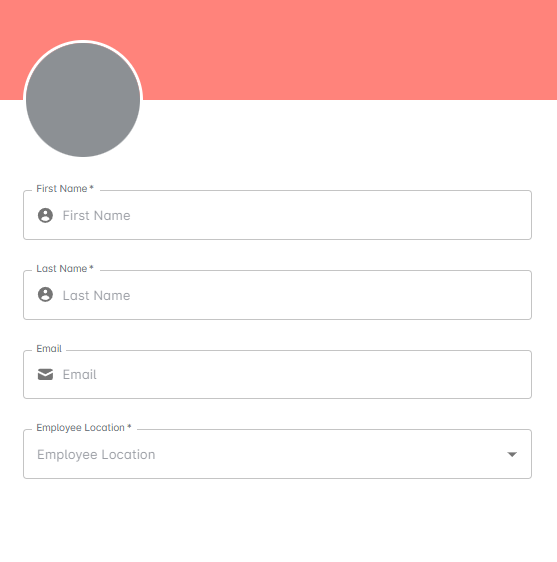
Step 6 : Send the Invitation
After filling in the details, click Save. Once saved, the user will receive an email invitation to join your community, including a link to get started.
By following these steps, you can effortlessly invite users to join your community and ensure they have everything they need to engage and contribute effectively
2. Block Users
Blocking users is an important step in maintaining the security and integrity of your community. When team members move on or access needs to be restricted, blocking ensures that only the right people remain connected to your initiatives. Whether you’re a Company Admin or a Nonprofit Admin, managing access helps protect your organization’s data and keeps your community safe, focused, and aligned with your goals.
Follow these simple steps to block users :
Step 1 : Log in to your Neki Account
Begin by logging in to your Neki account (https://my.neki.io) using your credentials. Make sure you have the necessary admin access to manage users.
Step 2 : Access the Administration Section
Once logged in, navigate to the home page and click on the Administration section. This is where you can manage your community’s settings and users.
Step 3 : Open User Management
Within the Administration section, locate the User Management option under Account Setup. Click on User Management to access user-related settings.
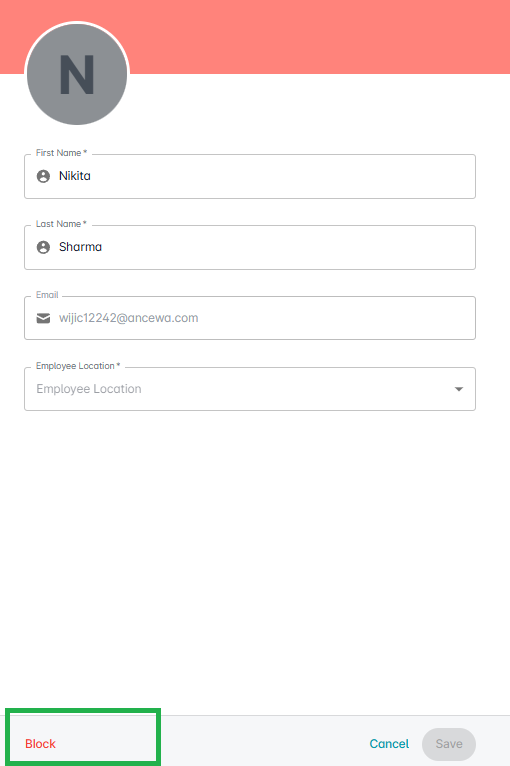
Step 4: To block a user, search for their name or click on it from the list. Once you're on their profile, scroll to the bottom and click the “Block” button.
3. Allocate Location ot the user
Follow these simple steps to allocate location to users :
Step 1 : Log in to your Neki Account
Begin by logging in to your Neki account (https://my.neki.io) using your credentials. Make sure you have the necessary admin access to manage users.
Step 2 : Access the Administration Section
Once logged in, navigate to the home page and click on the Administration section. This is where you can manage your community’s settings and users.
Step 3 : Open User Management
Within the Administration section, locate the User Management option under Account Setup. Click on User Management to access user-related settings.
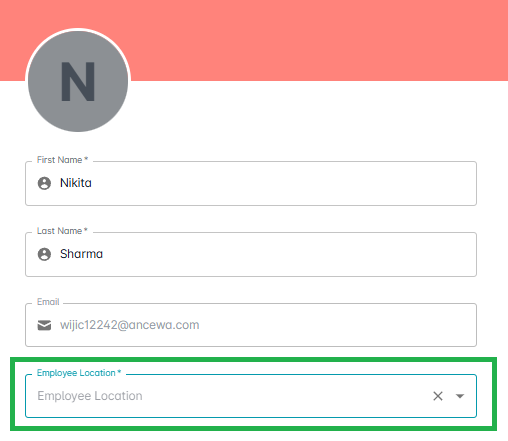
Step 4: To allocate location to a user, search for their name or click on it from the list. Once you're on their profile, add location in the "Employee Location" field and save.
4. Edit user details
Follow these simple steps to edit user details :
Step 1 : Log in to your Neki Account
Begin by logging in to your Neki account (https://my.neki.io) using your credentials. Make sure you have the necessary admin access to manage users.
Step 2 : Access the Administration Section
Once logged in, navigate to the home page and click on the Administration section. This is where you can manage your community’s settings and users.
Step 3 : Open User Management
Within the Administration section, locate the User Management option under Account Setup. Click on User Management to access user-related settings.
Step 4: To edit employee details for a user, search for their name or click on it from the list. Once you're on their profile, edit the details (first name, last name, location) and save.