How to create Razorpay Donation Page as a Nonprofit
Documents required
1. NGO Pan number
2. Form 80G Allotment Letter
3. 12A
4. NGO Registration certificate
Step 1. Visit the link
https://rzp.io/i/GIurXhOLZ2
Step 2. Enter your Mobile Number
Step 3. Enter Your Name and click on ‘Continue’
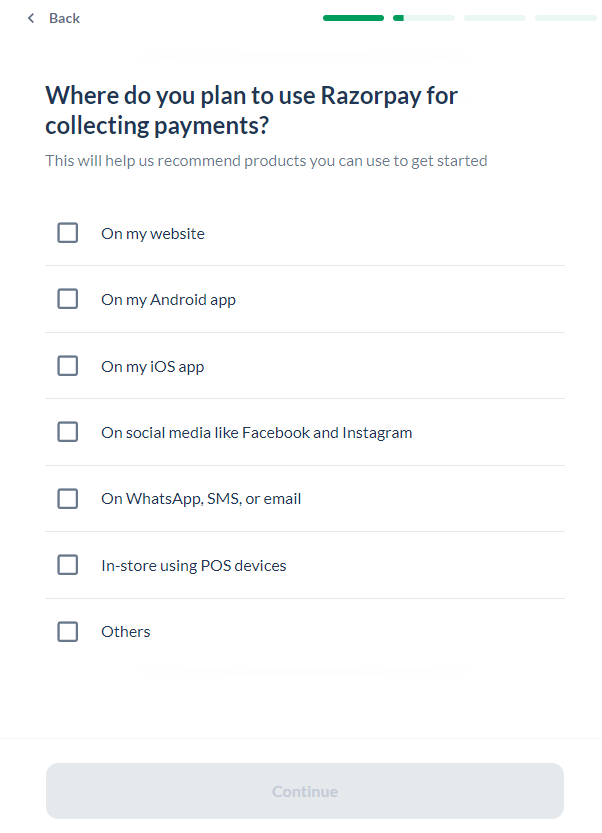
Step 4. Select option from the list. You can select multiple options.
Step 5. Add your website link where you are going to receive payments through Razorpay
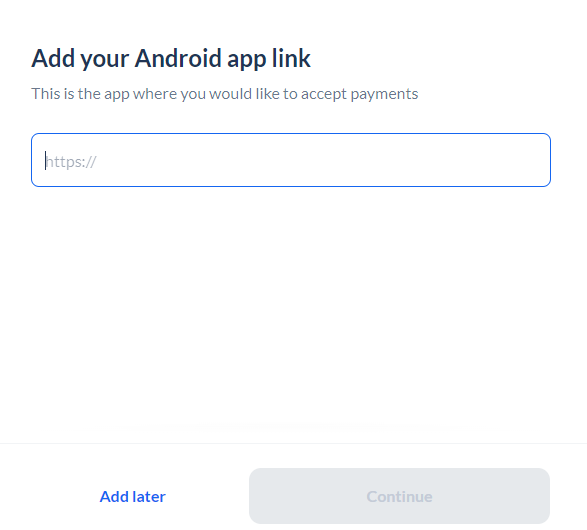
Step 6. Add Android App link, you have the option of adding it later.
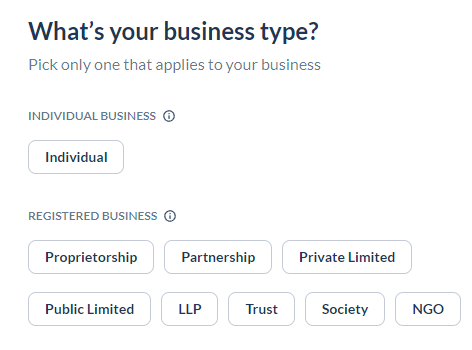
Step 7. Select your Business Type.
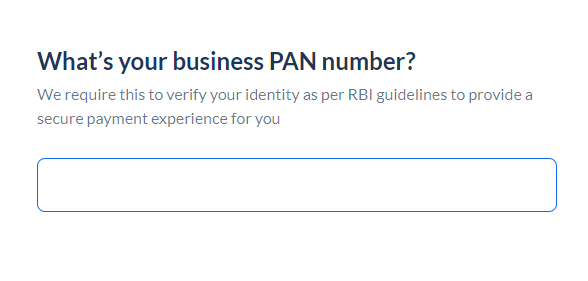
Step 8. Add your Business Pan Number.
After clicking on ‘Continue’, your Business Name will be shown on the screen. Confirm the name by clicking on ‘Confirm’
Step 9. Add the PAN number for ‘Authorized Signatory’
Confirm you name by clicking on ‘Confirm’
Step 10. Enter the Brand Name for your NGO.
Step 11. Enter your Business Category
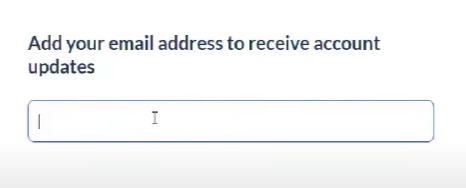
Step 12. Add email address to receive account updates.
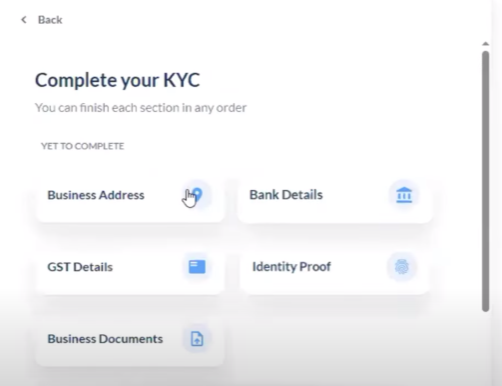
Step 13. Update your KYC details and upload Documents
Documents required – Company PAN, 80G, 12A, Registration certificate, Identity Proof
After submitting the documents, your documents will be reviewed which usually takes 2-3 day. Following approval, your account will be promptly activated.
Create ‘Payment Page’
- Login to your account and on Dashboard click on ‘Payment Pages’
2. Click on ‘Create Payment Page’ in the top right corner
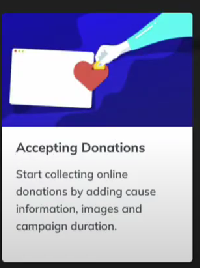
3. Select ‘Accepting Donations’ template and details you want to display on Your Payment Page.
4. After entering all the details click on ‘Create and Publish Page’
To know detailed procedure, visit the link
https://razorpay.com/docs/payments/payment-pages/create/
Payment Page Receipts
With Payment Pages Receipts, NGOs no longer have to generate 80G receipts manually. Confirmation receipts are generated instantly and are sent to donors via email as soon as their transaction is successful.
Here is how you can set up Payment Page receipts for your Account.
1. In the top right corner, you will find ‘Payment Receipts Settings’.
To send receipts automatically check ‘Send Automated Receipts’
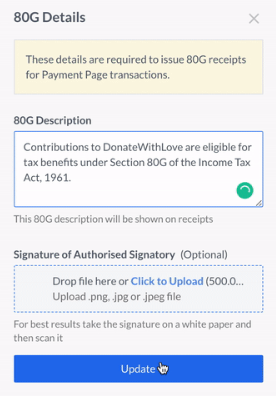
2. To issue receipts with 80G details, enable the ‘Show 80G’ Details option
and click on ‘Click here’ to add information related to your 80G and click on ‘Update’
to know detailed process, visit the below link
https://razorpay.com/docs/payments/payment-pages/80g-receipt?search-string=Payment%20Page%20reciepts

