How to integrate Stripe with your Neki account as a Nonprofit Admin?
Stripe allows businesses to accept payments over the internet and handles the complexities of payment processing, including security, compliance, and infrastructure. Stripe's platform supports various payment methods, including credit cards, debit cards, and digital wallets like Apple Pay and Google Pay. Integrating Stripe with Neki allows your nonprofit to accept donations seamlessly, ensuring a smooth and secure transaction experience for your donors. Leverage its capabilities to maximize your fundraising efforts effectively and efficiently.
Here is how you can integrate stripe for you Nonprofit.
Step 1. Go to the Login page by visiting - https://my.neki.io and enter your email ID and password.
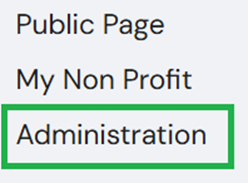
Step 2. After logging in, click on ‘Administration' on the right side
For Mobile:
On the Home page, tap ‘Admin’ in the bottom navigation bar.
Click this icon to open the menu and see additional options.
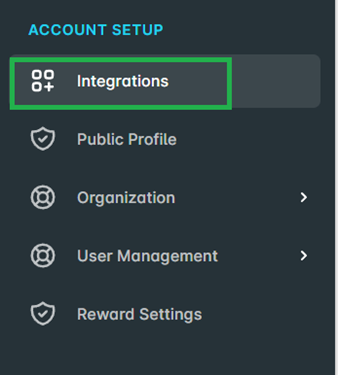
Step 3. Click on ‘Integrations’ and go to ‘Receive Donations’
Step 4. Click on ‘Connect’ to start your setup for Stripe.
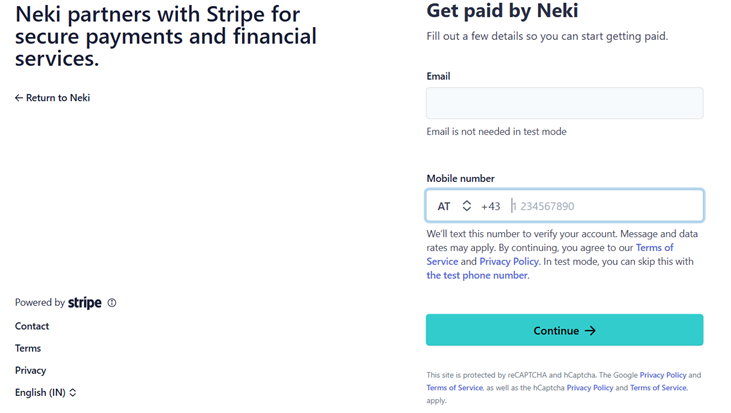
Step 5. Once you click on ‘Connect’ you will be redirected to Stripe.com ,enter Email for your organization, contact details and click on ‘Continue’ to setup your nonprofit through Stripe and start receiving donations.
Step 6. You will receive a code on the mobile number you provided, enter the code .
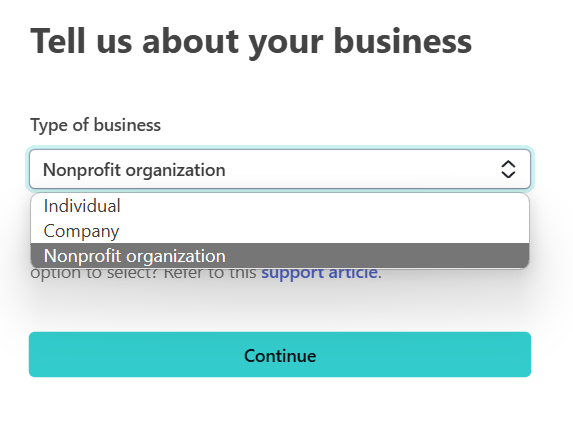
Step 7. Select type of a business as a Nonprofit Organization.
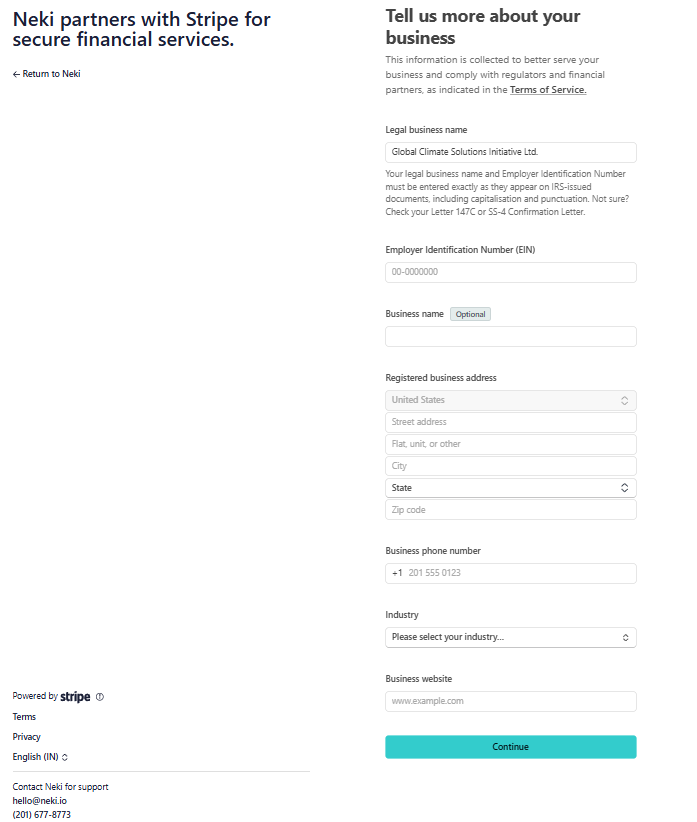
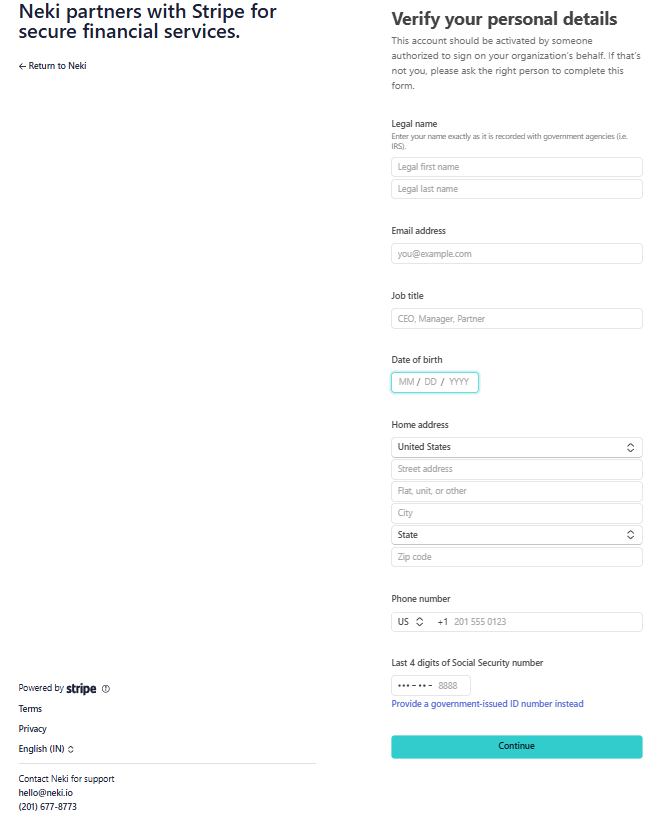
Step 8. Enter more details related to your organization and start receiving donations through Stripe on Neki.
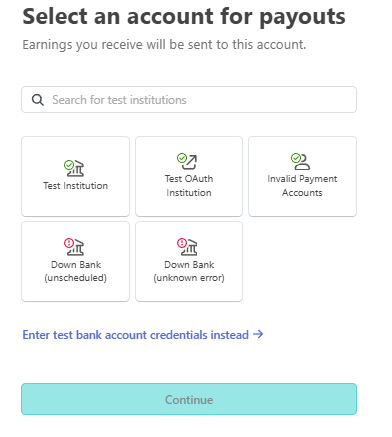
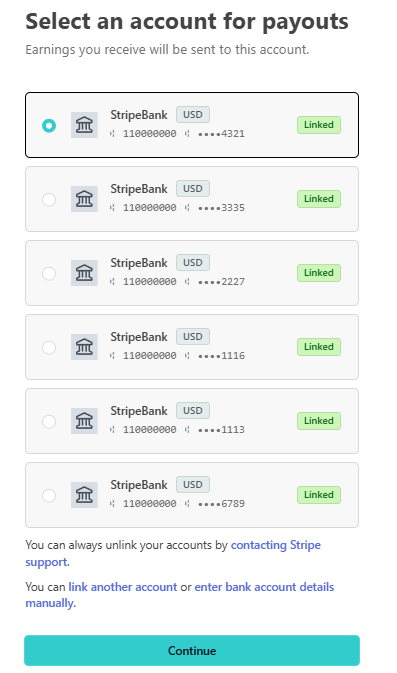
Step 9. Select bank account to receive donations (payout)
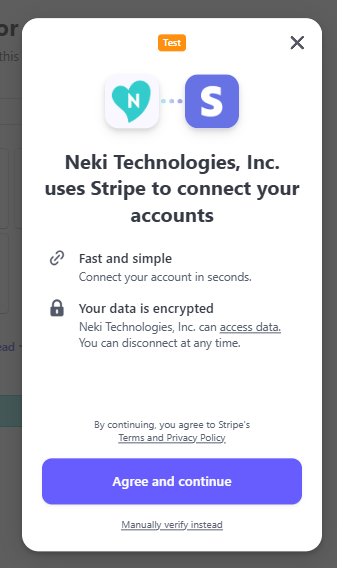
Step 10. Agree Terms and privacy policy.
Step 11. Click on ‘Connect Accounts’ in the next step.
Step 12. Select account to receive donations (payout)
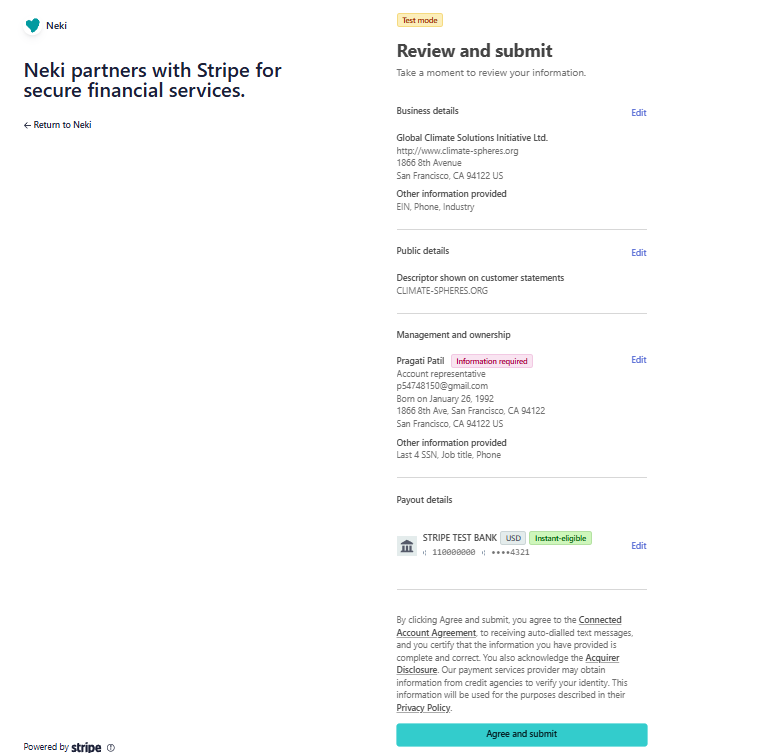
Step 13. Review the details provided. If anything is missing, you can add it by clicking on 'Edit'.
Step 14. Once you have entered all the details and click on 'Agree and Submit,' you will be redirected to your Home Page and your Stripe Integration will be completed.

