How to create content and publish on your page as a Nonprofit Administrator
How to create content and publish on your page as a Nonprofit Administrator
Creating content fuels communication, fosters connection, and drives engagement. By crafting compelling content, nonprofits have the power to inform, inspire, entertain, and establish a meaningful presence on the platform, capturing the attention and interest of its community and beyond.
How to create a post
A Post is a form of content that is the most open ended, with a wide array of potential uses. For example, posts are a great way to communicate ideas and upcoming events, and allow your community to weigh in on topics and have meaningful discussions.
- Once you login to Neki, you will see the following text input that says "Whats on your mind" Cilck that or the icon next to it. This will open the screen for you to create your content on Neki.
- Choose a target audience by selecting from the drop down menu under "Target Audience"
a. Make the post visible to everyone on the platform, this post will show up on the public page of the nonprofit
b. Make the post visible specifically to a specific organization, which can be chosen from the selection in the search box to the right of target audience
c. Make the post visible only to your nonprofit community. You will see the name of your organization instead of "Hazelden Betty Ford Foundation"
3.Write what you'd like to include in the post in the box that asks "What would you like to share?" Feel free to include links in your post by adding a hyperlink to the text (ex: www.neki.io).
a. In a future update, Neki will allow you to add embedded hyperlinks rather than long links via a text editor. For now, if you would like to do so, use the following text blurb (replace the bolded text with your own content):
<a href="{YOUR LINK HERE}" target="_blank">{YOUR TEXT HERE}</a
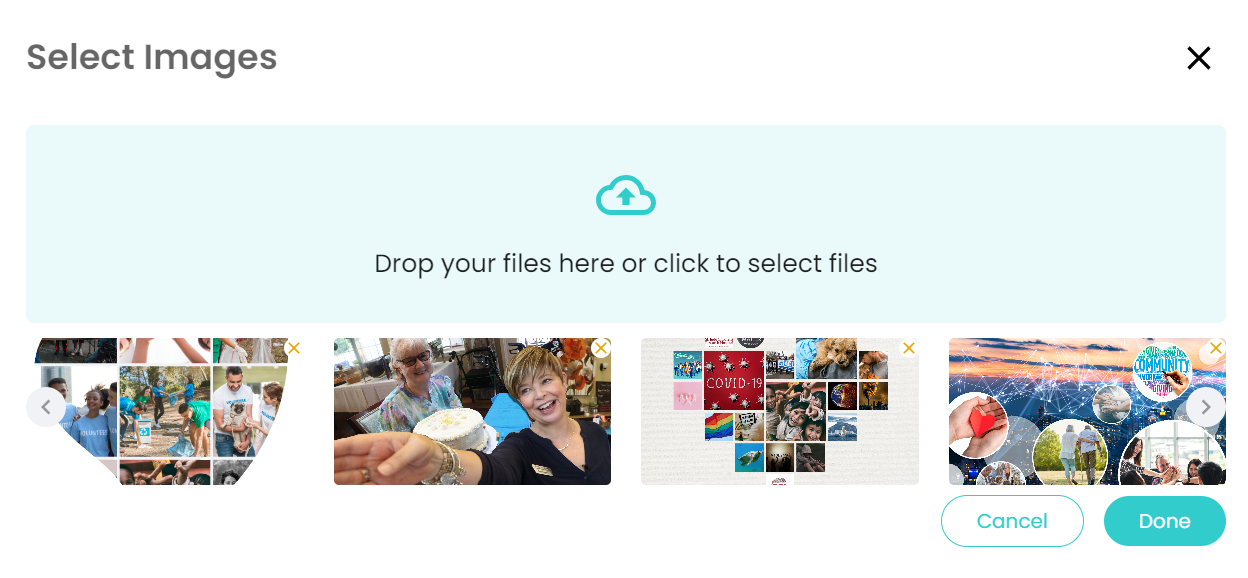
4.You can also include photo(s) representative of your post by clicking on the image icon in the bottom left corner. (Up to 10 images)
a. To add multiple images, simply select multiple images in your file selector before uploading to Neki.

b. You should see all of your images appear on the menu. To scroll through the images uploaded, simply click the navigation buttons on the left and right side of the image. Once you are done viewing the uploaded images, click "Done".

5.Once you have finished, click on the "Post" button in the bottom right corner
a. You can make your post visible to everyone and publish it on your company's public page by checking the box shown below
b. You also have the ability to showcase and feature this post on your organizations public page, by checking the box shown below
c. To complete the post, press post, and you're all done!
6.Congratulations! You will earn Neki points and receive a Social Butterfly Badge.


